The sky is your quest log
Starlight is the only pure white in the game. The sky gets the highest saturation and contrast, and the land sits a step darker. A falling star should be readable from anywhere on screen in under a second.
Visual direction v1 · inspiration board
Careful what you wish for.
One way the game could look, based on your design specs: the crater-ring world, starfall, progression, bases, creatures and combat. A painterly, stylised survival look in the same family as Valheim and Enshrouded. The sky is the brightest thing on screen, and the land gets harsher, glassier and hotter as you push toward the central crater.
From pillars to pixels
Your four pillars, each turned into a visual rule an artist can follow when making a decision.
Starlight is the only pure white in the game. The sky gets the highest saturation and contrast, and the land sits a step darker. A falling star should be readable from anywhere on screen in under a second.
A glowing core marks what's yours. Its claim radius is drawn faintly on the ground, so you always know where you can build. Hot zones show themselves through heat shimmer and scorched ground, not walls. Builds use calm, readable timber, stone and star-forged metal.
The central crater's glow is always on the horizon. Each ring shifts in colour and shape: soft and green at the edge, angular, glassy and burning at the centre. You can see where you're going.
Attunement shows on the body. Gear and skin pick up glowing seams in the colours of the star types you've absorbed. The three class silhouettes (melee, ranged, caster) stay distinct even in shadow.
The world
One handcrafted map around an ancient impact. Danger and material tier rise toward the centre, and each ring gets its own colour palette. The biome names below are mood placeholders, not lore.
Temperate pine forest, meadows and mist. Soft, rounded shapes, safe, the starting area. Old craters are now grassy hollows and lakes.
Mesas, dry riverbeds and golden grass. Craters are layered cliffs you can read like strata.
Teal rock with crystal outcrops growing from old impacts. The first ring where the ground itself starts to glow at night.
Cold grey plains under falling ash, with wind-carved spires. Sparse and quiet, so the star colours stand out even more.
Black volcanic glass around the central crater, cracked with molten orange light. The glow you've seen on the horizon since minute one.
Ring 1 · 2 star types at launch
Each star type terraforms a patch around its impact, with a fixed look, a fixed set of monsters and one clearing objective, so the sky tells you what job is waiting. The two below use the spec's example objectives (Extract and Purge). The names are placeholders.
Forecasting & race
The narrowing circle is your main HUD idea, so it should look the same everywhere: one cyan, dashed, hand-inked circle on the map, like a mark on an astronomer's chart rather than a UI widget. Shards carry a star type too: the colour of a shard's trail tells you which creature set guards it, before you get there.
Direction and a sky sign only. You walk toward a streak in the sky.
A large circle that appears late. Good enough to start running.
A smaller circle, shown earlier, plus the star type, so you know the objective and biome before you leave.
A tight circle, shown earliest, plus the type, the size of the rare stock, and shard pings on the map.
Star crater lifecycle
Cooling is the one race clock, so the crater's colour has to show the clock. Each stage changes how the crater looks, even from a distance.
White flash, then a shockwave across the ground. The only moment that's pure white on the ground.
Glowing core, cyan rare crystals on the rim. Rich, guarded, and you can't build here.
The core dulls to grey crust and the cyan crystals are gone. Only lesser material is left.
Violet blight crawls out, hard-capped to about 2× the crater radius. Its mover and swarmers roam out and raid nearby claims. Blight never damages builds.
The native biome grows back over a shallow hollow and the slot frees up for the next fall.
Concept scenes
One scene for each key beat of the session loop. Click any scene to enlarge it. Each one has a painting prompt you can hand to an artist or an image model.
These are illustrated sketches, not final paintings. No image-generation provider is connected in this workspace, so the scenes are drawn as vector compositions to lock in layout, palette and lighting. Copy any prompt to turn it into painted concept art.
Pillar 1 · Read the sky
Light-travel silhouette: hooded cloak, spyglass, a lantern at the hip and a bedroll on the pack. Practical and readable from behind in third person. The only cyan on the character is a thin rim light from the omen.
Painterly stylised game concept art, third-person survival game. A hooded traveller seen from behind on a grassy ridge at night, raising a brass spyglass toward a glowing star with a halo ring in the sky. Warm lantern at the hip, bedroll on the backpack, practical layered cloak. Layered blue pine hills below fading into mist. Deep indigo sky, cold cyan rim light from the star, warm amber lantern fill. Hand-painted brush texture, Valheim and Enshrouded mood. No text.
Starfall · Clear the impact
The terraformed patch should have a hard, readable edge: native forest on one side, ash meadow on the other. Rare stock is always cyan crystal so greedy players can spot it from far away, under fire.
Painterly stylised game concept art. A fresh meteor crater in a temperate pine forest at dusk, the impact has terraformed a ring of ash meadow with glowing ember grass and basalt shards around it. A jagged amber-white glowing star core in the centre, a smoke column rising, heat shimmer. Cyan crystal clusters on the crater rim. Dark low wolf-like creatures with molten glowing seams guarding the rim. Clear edge between green forest and scorched patch. Purple-to-amber sky. Hand-painted, Valheim and Enshrouded inspired. No text.
Forecasting · Return & build
The first big building goal and a landmark for the base. It's built from the same timber and stone as the player's base, plus brass and a telescope. The narrowing circle shows up in the world too, as a faint dashed ring on the landscape.
Painterly stylised game concept art. A small handmade observatory on a hilltop at night, stone base with timber framing, an open copper dome and a long brass telescope pointing at the sky, warm light in the doorway and a lantern-lit path down the hill. In the valley below, a faint glowing dashed cyan circle marks where a star will fall. Starry indigo sky with a faint pale band across it. Hand-painted, cosy survival-craft base mood. No text.
Race pressure · Star raids
Blight is the one colour that doesn't belong in the world: sickly violet, slow and creeping, and its hard cap shows as a visible boundary. The crater's mover and swarmers march out at the nearest claim as a star raid: clear it, or it comes to you. Blight itself never touches builds, and raid damage only leaves pieces broken, never gone.
Painterly stylised game concept art. An old meteor crater gone sour under an overcast violet-grey sky, sickly violet glowing blight tendrils spreading across the forest floor but stopping at a clear circular edge. Dim grey cooled core. Shadowy creatures with pale violet eyes roaming out toward a small intact timber cabin with a warm window just outside the blight. Muted desaturated forest, the violet as the only strong colour. Hand-painted, survival-craft mood. No text.
Great falls · Day 3 impact
The biggest event in the game has to look like it. The permanent sky band flares (day 1 of the omens), a pillar of light marks the site (day 2) and the impact reshapes the ground for good (day 3). Each great fall brings the next ring's star type early: its biome stays here for good, and the main boss is that type's apex. Beat it and that star starts falling. Great fall 5 breaks the pattern with a unique finale at the central crater, left to Lore Forge.
Painterly epic game concept art, wide cinematic shot. An enormous blazing white-cyan star descends over a landscape of black volcanic glass cracked with molten orange light, a pale luminous band across the whole sky flaring brightly, a pillar of light reaching the ground and a shockwave ring spreading over the obsidian plain. Two tiny silhouetted travellers on a dark ridge in the foreground watch. Deep indigo to ember-orange sky. Hand-painted, awe and scale, Valheim and Enshrouded inspired. No text.
Building & bases
A base starts with a glowing core that claims a radius, wherever you place it. Inside, everything is yours to build. Up to three cores join into one large base, and in radiated rings the claim is a safe shelter. The scene below shows an outpost in the crystal badlands (ring 3).
Building & bases · Core role, air bases
The core is the warmest light in the base and its hub: claim, respawn, rested buff and raid target in one piece. The dashed ring shows the claim and the faint dome shows the radiation shelter: outside, motes drift; inside, the air is clear. The sky base hangs on a visible light chain from its tether pylon, and you reach it with a rope ladder, the launch pad or a waypoint up top.
Painterly stylised survival game concept art, wide shot at night in teal crystal badlands. A small stone-and-timber outpost built around a glowing amber crystal altar on a stone plinth, a faint translucent cyan dome of clean air over the base while pale green radiation motes drift outside it. A thin dashed light ring on the ground marks the claim. One stone wall is cracked and dimmed but still standing. Beside the base, a tall dark obelisk pylon sends a glowing cyan chain of light up to a floating platform with a small cabin under a star-glass dome, a rope ladder hanging down. A campfire and bedroll outside the ring. Hand-painted, Valheim and Enshrouded mood. No text.
Warm, central, always lit. Upgrading it with the ring's key material visibly grows the crystal and widens the claim ring. Up to 3 cores join their rings into one big base.
Small, rough, unmistakably temporary. Waypoint, campfire, bedroll, ladder, rope, plank bridge and chest. Raw lashed wood and cloth, so nobody mistakes them for a base.
Damage reads as cracks and dimmed light. A broken gate hangs open, a broken wall has a gap, but nothing ever falls down. Repairing it puts the light back.
The dome is the fuel gauge. It dims as star dust runs low, a sky-coloured flicker at the core warns you, and when empty it fades to normal ring radiation. You are never trapped or killed at home.
The light chain is the support. Floating foundations only exist inside the pylon's air column, so the column should be faintly visible while building. Nets, star-glass domes and wards keep fliers out.
A star bore cracks a hidden cavern open. Cliffs and old crater walls hold pre-made hollows. Rock-shell pieces match the cliff textures so built caves blend into the rock.
Piece unlocks
Each great-fall key material unlocks the next tier, raising span, height and durability. The material should be readable from a distance, so you can tell a base's tier at a glance.
Star sets add pieces from building-focused star families, such as star-glass, glowing trims, wards and flier nets. They're another reason to chase one particular star.
Era style kits come from clearing old-crater ruins: a decorative architecture kit from each era. Style, not power.
Mid-tier names on this strip are placeholders. Your spec only fixes wood → stone → … → star materials, with tether pylons as the final tier.
Creatures & bosses
Natives belong to the land. Star creatures arrive with a fall and should look like they don't belong. Every star type has the same role slots, so players learn a new set quickly. And every move you can't parry or block uses one shared warning, from the smallest bruiser to the final boss.
Natives · 6–8 per ring
Matte, earthy and painted in their ring's palette, with familiar anatomy: grazers, predators, biome monsters at creature camps. They're food, hides and bones, and they're the ones behind industry raids.
Star creatures · 5–6 + mini-boss per type
Angular, crystalline and plainly alien, with glowing seams in their star type's colour. They resist their own affinity and are weak to one other. You meet them only at craters, shards, blight and star raids.
Role slots · Ember set example
Every star type fills the same slots, so silhouettes must sort by role first and by type second. The swarmer is low and small, the bruiser wide and heavy, the specialist tall and thin, the mover shaped by how it moves, the support marked by its aura, and the mini-boss crowned.
Great-fall bosses
Each ring's boss is the apex of the star type that falls in the next ring. Its 2–3 phases spread that type's biome over a shared arena template, and every phase exposes a weak spot (cyan diamond) for the Seeker, a break meter for the Vanguard and arena features for the Starcaller.
A plain arena. Learn the 2–3 signature moves.
The biome spreads and pillars rise. Charging into a pillar staggers the boss.
Hazards across the floor, and adds called in from the boss's own set.
A pure-white star-flare and the same sound before every unparryable move. Dodge it, don't block it.
Combat & classes
Classes aren't tied to star types, so they don't get a type colour. They're told apart by shape: the Vanguard is square and heavy, the Seeker lean and angular, the Starcaller round and flowing. All three use the same cyan starlight for their abilities, and each one's hook leaves its own mark in the world.
HUD sketch
Stamina drives every physical action and star charge powers abilities, so the two bars sit side by side. The boss bar adds a break meter underneath. Everything else stays off screen until it's needed.
Weapon roster · ~6 types
Anyone can use any weapon; the class makes you best with its own. Ring tiers and star families add variants with new stats, effects and special moves, shown through material and seam colour rather than new shapes.
Damage affinities · one rule
Shown in the observatory and bestiary with the same three glyphs, so players never have to rely on colour alone.
Style guide
A starting point for art direction. Copy the colours into your engine's colour grading and material library, and argue with the rules.
Cold key, warm fill. Starlight is the cold key light; campfires, lanterns and the central crater give the warm fill. A player's base should always read as the warm spot in a cold world.
Only star things glow. The ground, buildings and creatures are matte and painterly. Emission and gloss are reserved for star materials, attunement seams and star cores, so loot always stands out.
Shape language by ring. Rounded and organic at the edge of the map, angular and shattered at the centre.
Field notes
Early visual studies from Wishfall’s island: its first falling shard, the omen forecast, and the title screen. These are pre-production concepts.
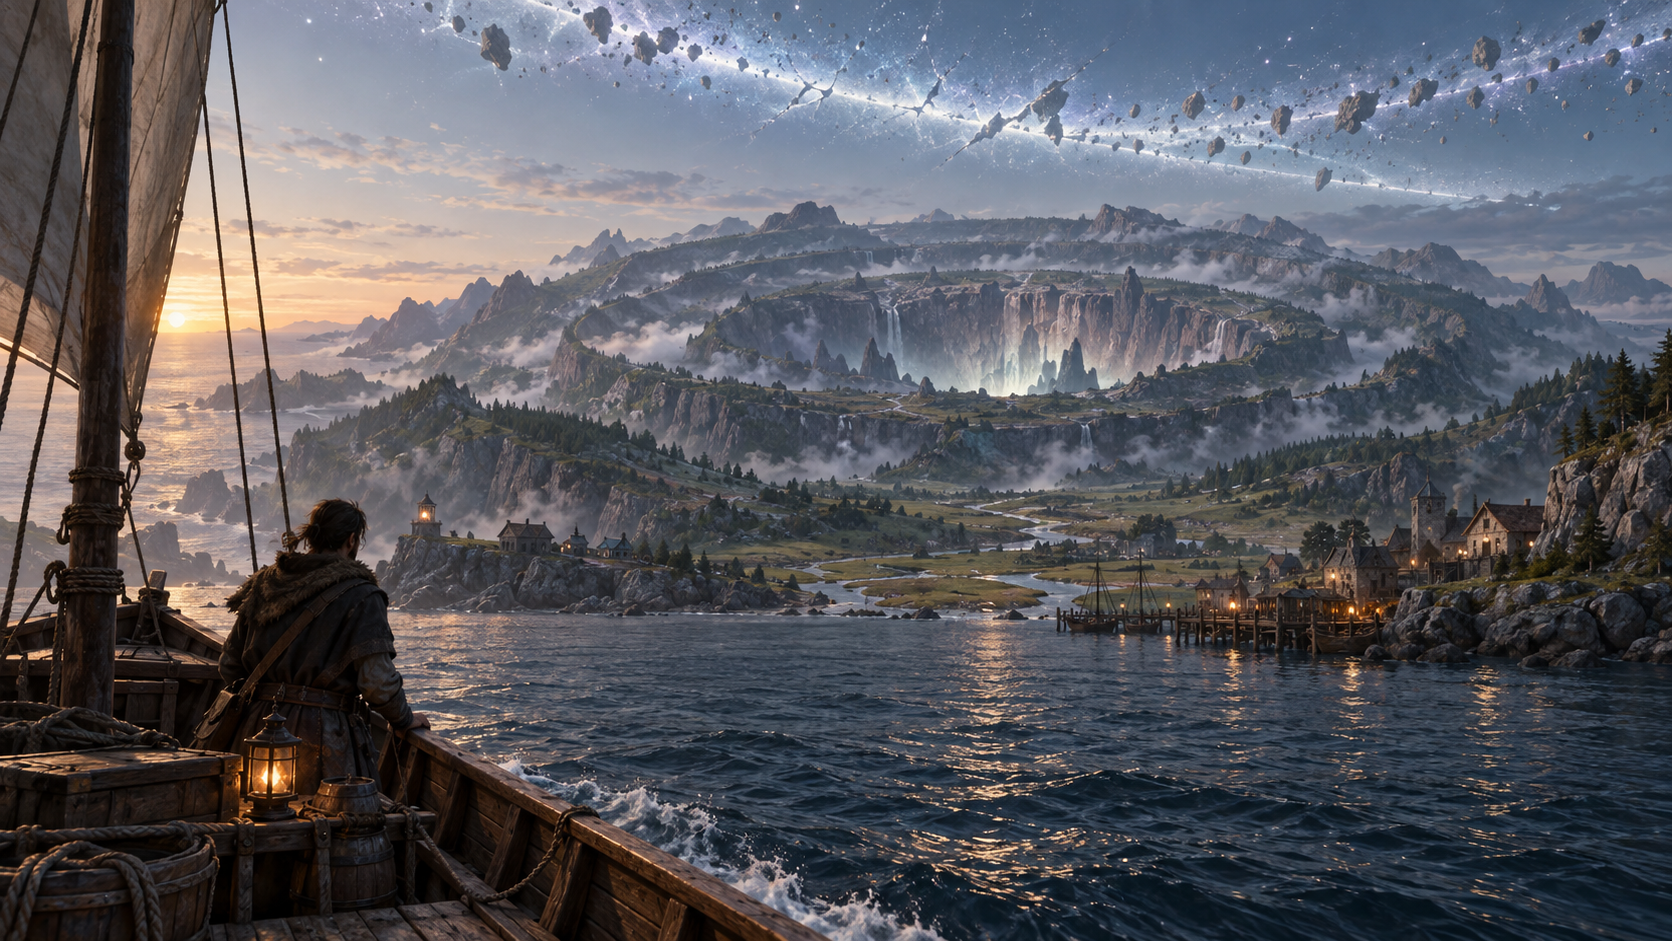
The crater-ringed island beneath a pale split in the sky.
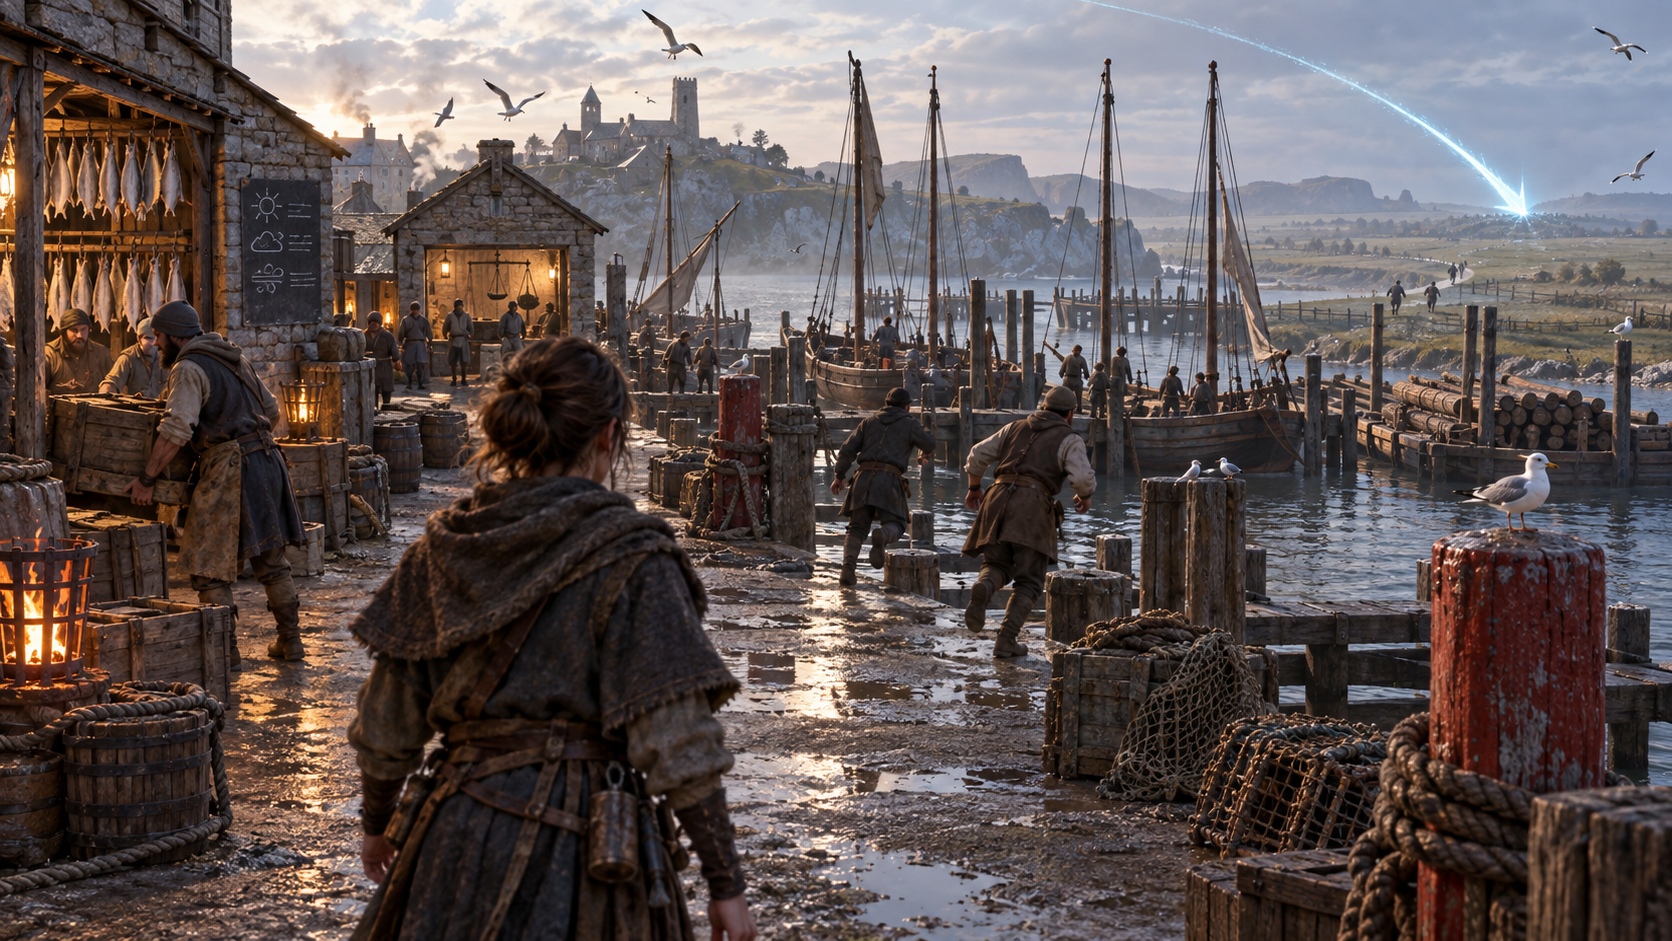
A new fall draws chasers out from the harbour.
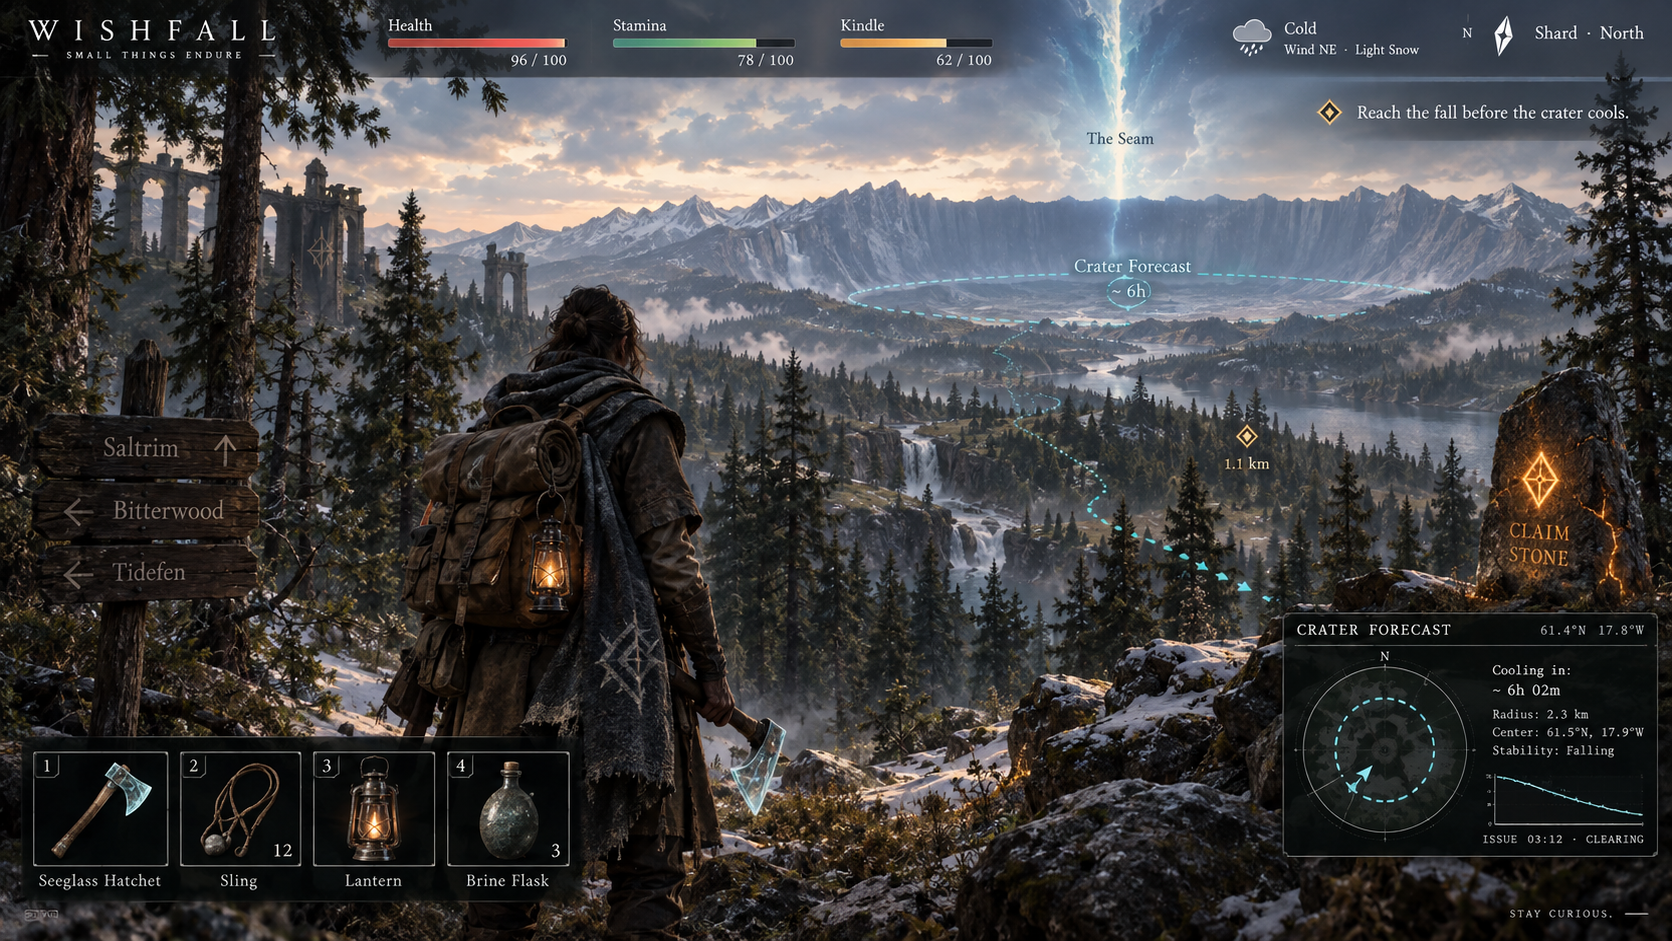
A forecast gives the island time to prepare.
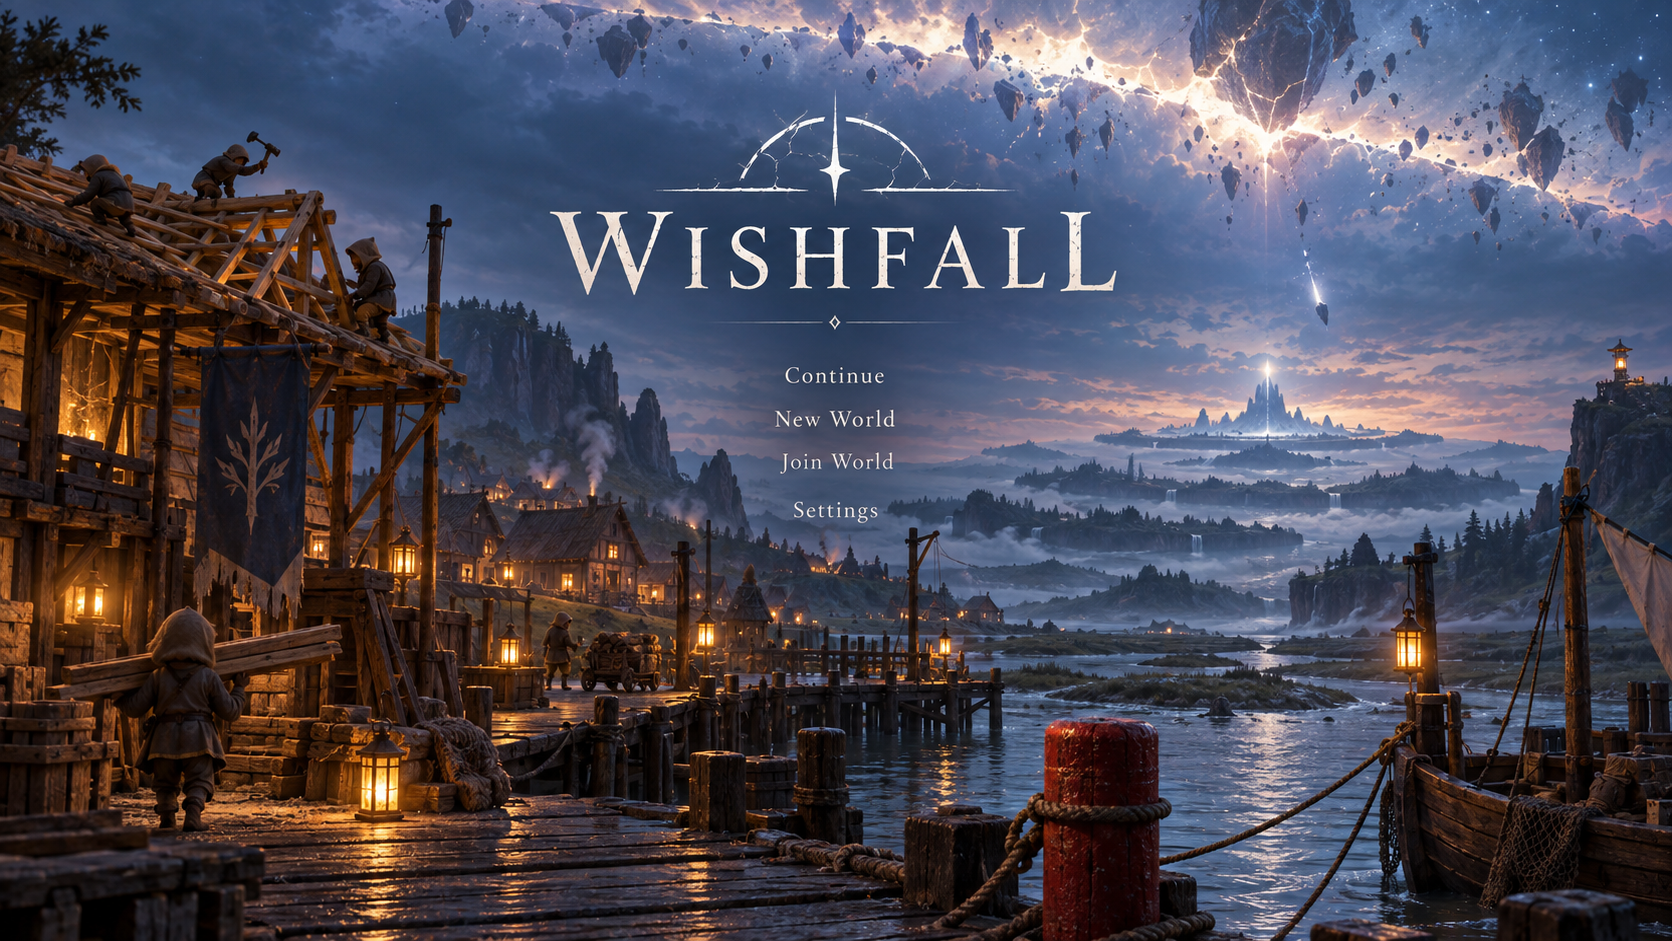
Lanterns keep their warmth beneath the cold sky.